Introduction
Setting up a Linux-based EC2 server and installing an HTTP server can be a complex and time-consuming task.
However, with the help of a bash script, you can streamline this process and make it much more efficient. In
this
blog post, we will guide you through the steps to create an EC2 server and install an HTTP server using a bash
script. Let's dive in!
Steps to create an EC2 server and install an HTTP server
Step 1:
Log in to the AWS Management Console

Step 2:
Launch an EC2 instance:
-
Open the EC2 Dashboard: From the AWS Management Console, navigate to the EC2 service.
-
Click on "Launch Instance" to start the EC2 instance creation wizard.
-
Select an Amazon Machine Image (AMI): Choose a Linux-based AMI.
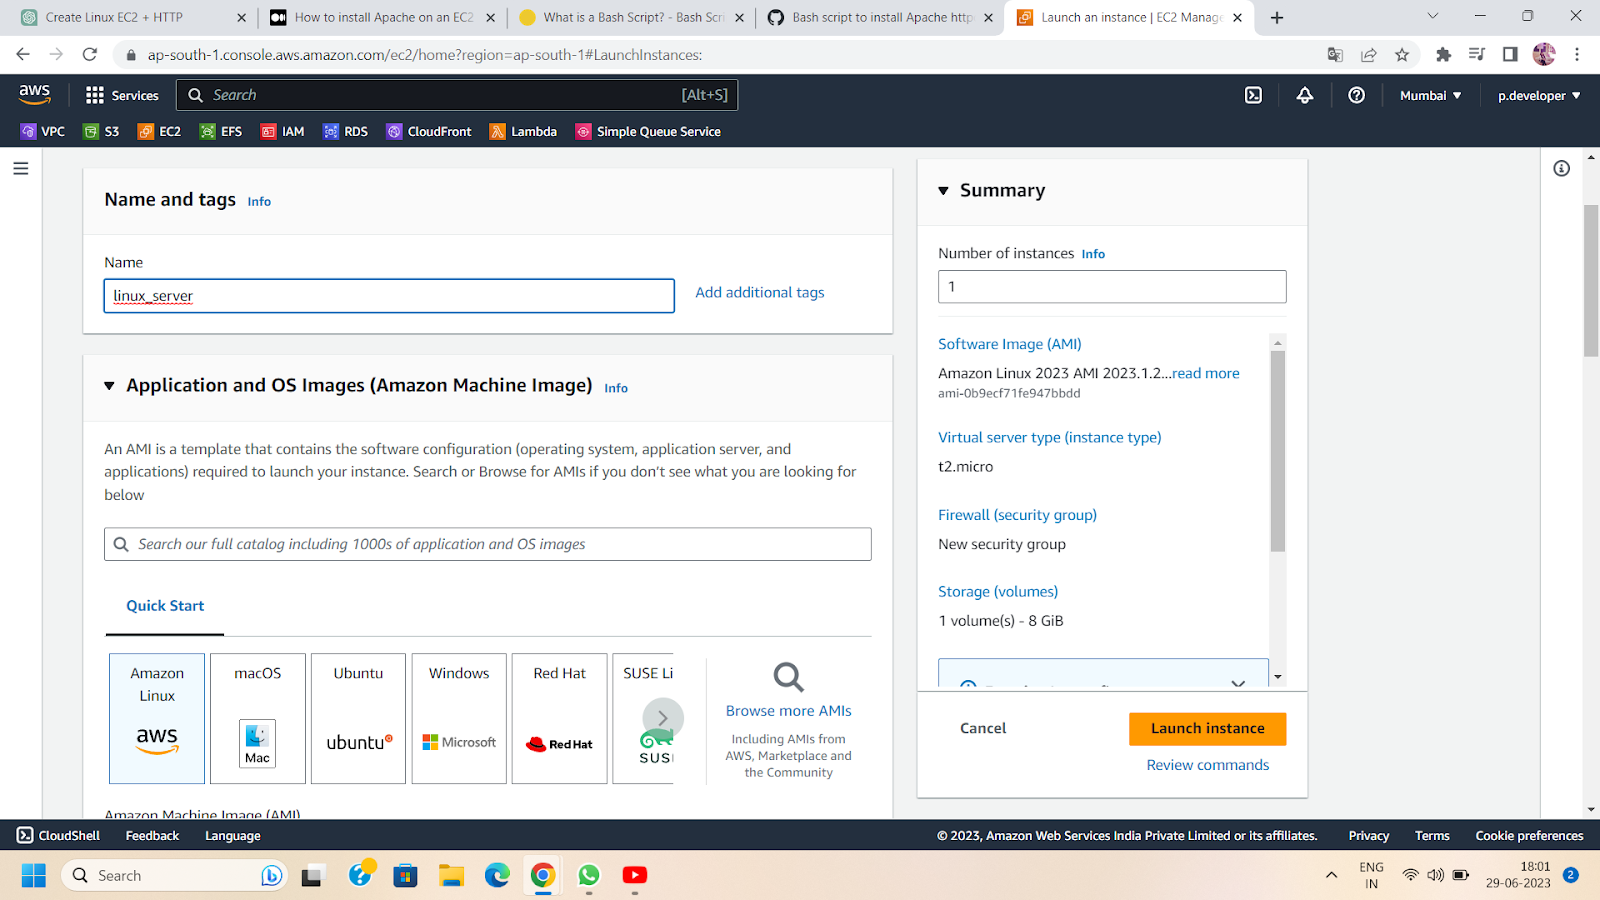
-
Choose an Instance Type: Select the desired instance type for your EC2 server.
-
Configure Instance Details: Customize the instance details such as the number of instances, network
settings,
security groups, etc.
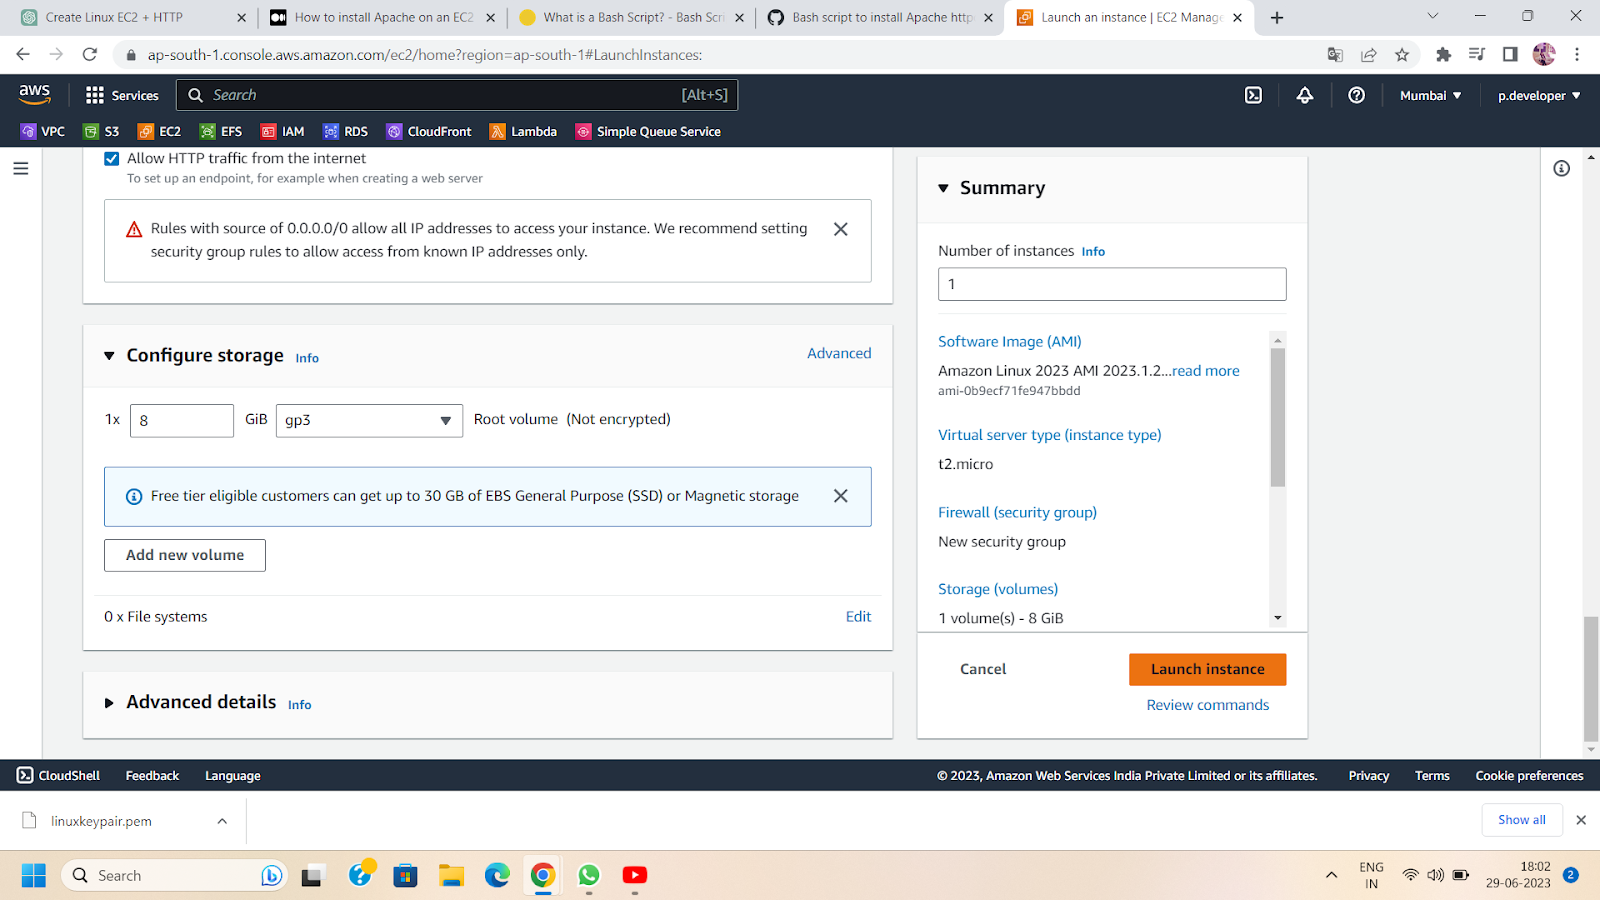
-
Add Storage (optional): Specify the storage requirements for your instance.
-
Add Tags (optional): Add any relevant tags to your instance for easier identification.
-
Configure Security Group: Configure the security group settings to allow incoming SSH (port 22) and HTTP
(port
80) traffic.
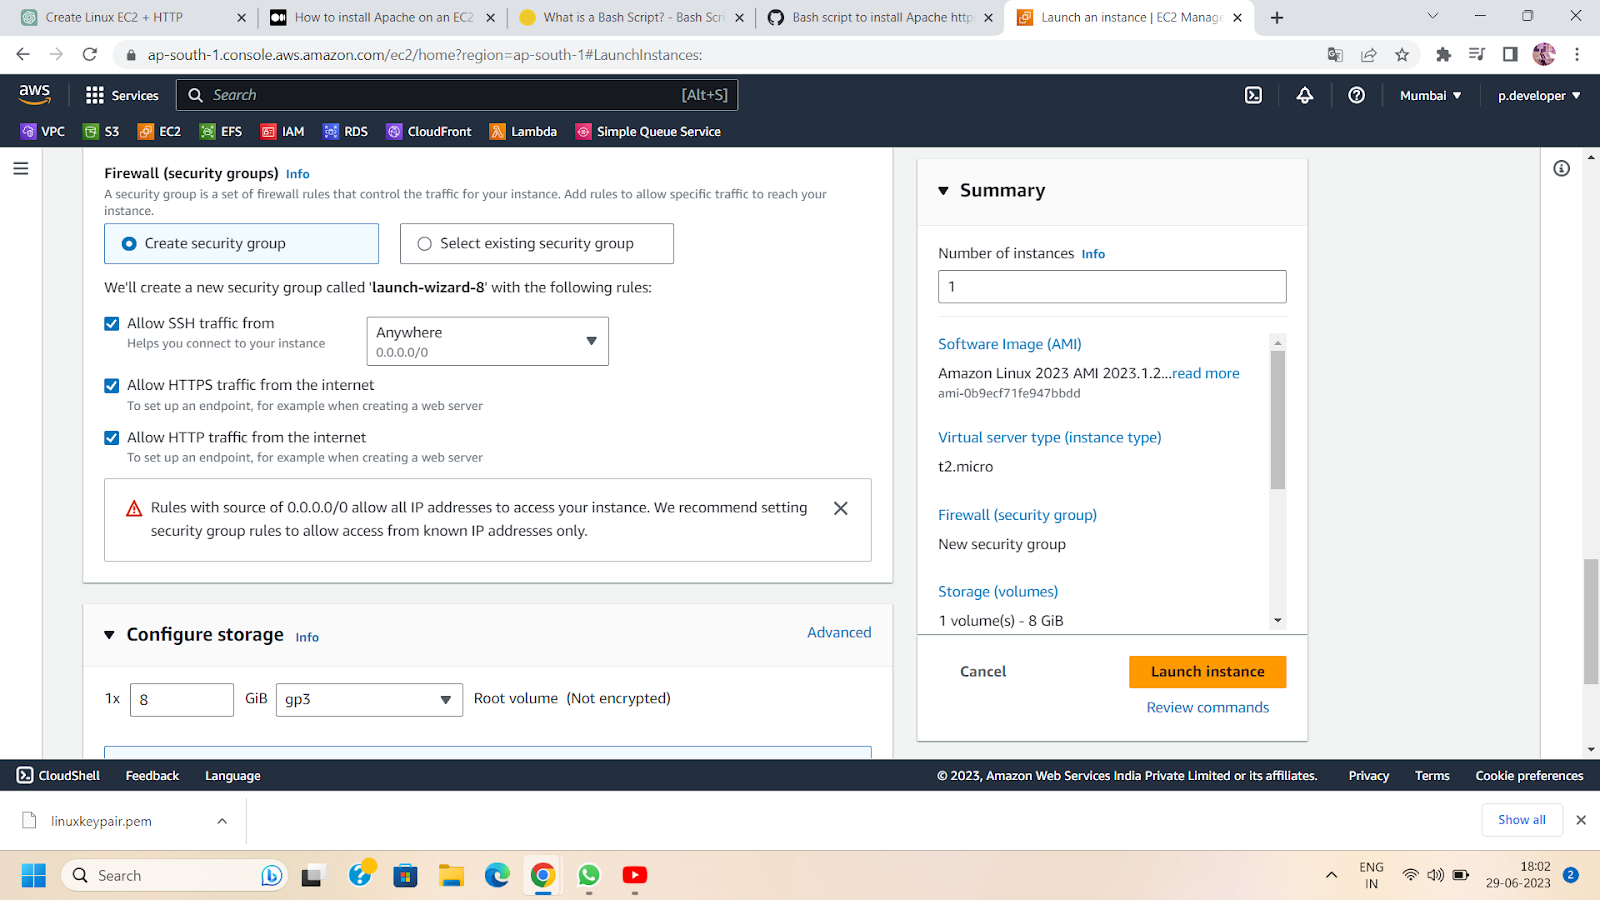
-
Review and Launch: Review your instance configuration and click "Launch" to create the EC2 instance.
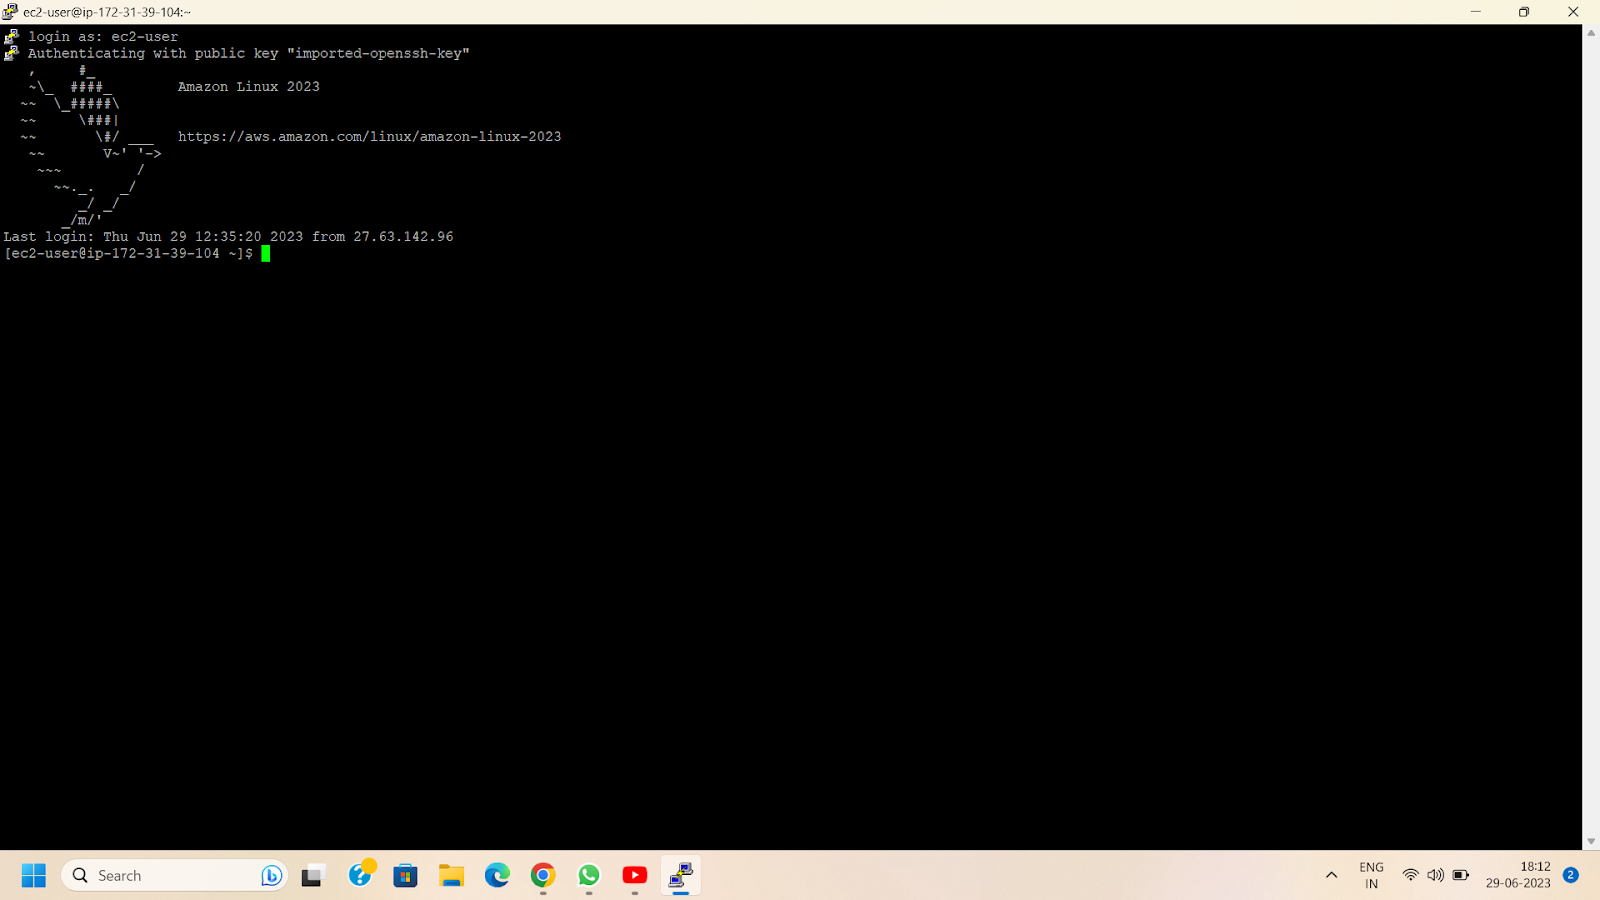
Step 3:
Connect to the EC2 instance:
-
Once the instance is launched, note down its public IP address.
-
Use an SSH client (such as Putty) to connect to the EC2 instance using the key pair associated with the
instance.
Step 4:
Create and Configure a Bash Script:
On your local machine, open a text editor
and create a new file. This file will contain the bash script to automate the installation of the HTTP server.
Use
the following command to create the text editor.
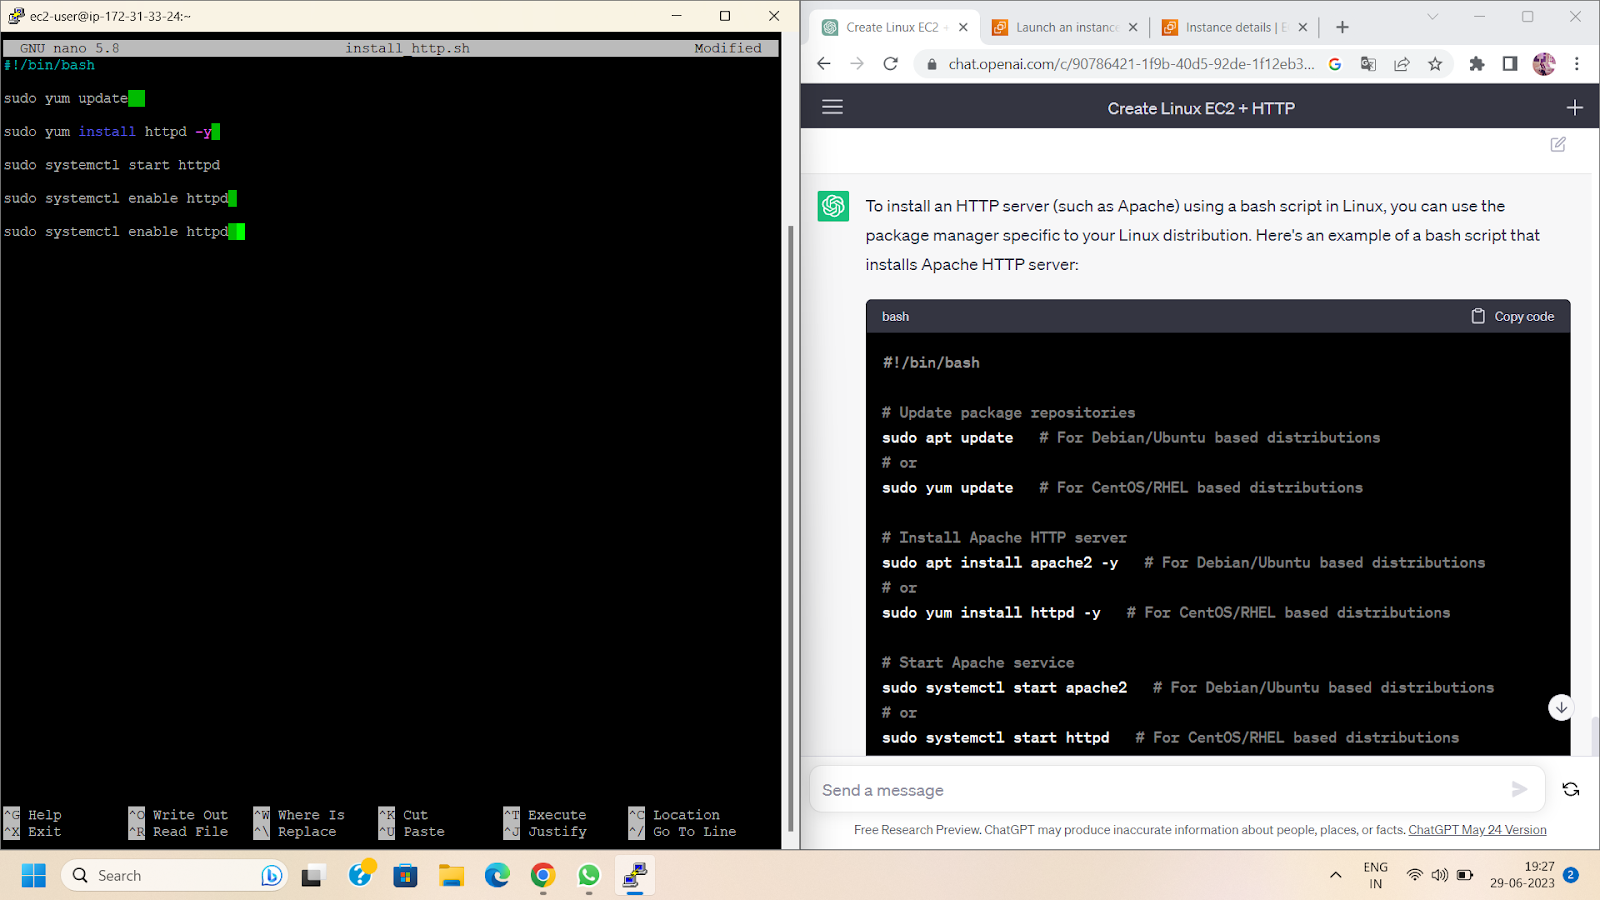
nano filename.sh (e.g., file name is install_http.sh)

Step 5:
Begin by adding the necessary commands to install the desired HTTP server
software.To
install apache server,type the following command on nano file -
# Update package repositories
sudo yum update -y
# Install Apache HTTP server
sudo yum install httpd -y
# Start Apache service
sudo systemctl start httpd
# Enable Apache to start on boot
sudo systemctl enable httpd
Step 6:
Customize the Bash Script To customize the installation process, you can add
additional commands to configure the HTTP server according to your specific needs. This may include setting up
virtual hosts, enabling SSL/TLS certificates, or modifying the server's configuration files.
Step 7:
Save the script:
-
Save the file with a meaningful name.
-
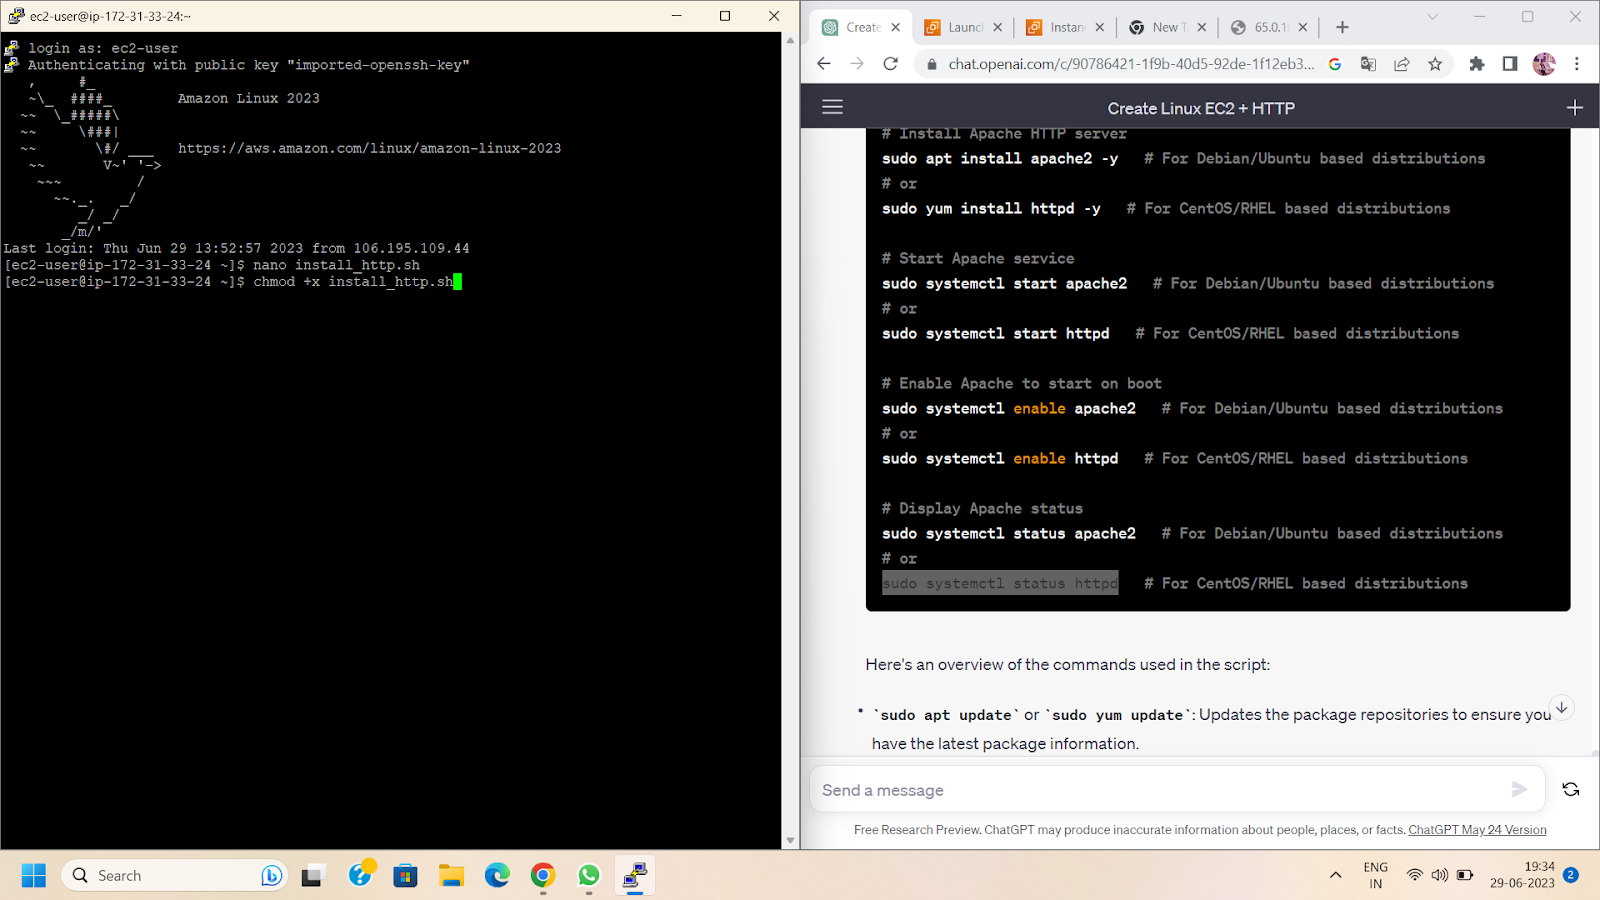
Now to modify the permissions of a file named "install_http.sh" and make it executable,type the following
command:
chmod +x install_http.sh
-
Once the file has executable permissions, you can run it by typing "./install_http.sh" in the terminal.
Step 8:
Now , http installation starts successfully.

Step 9:
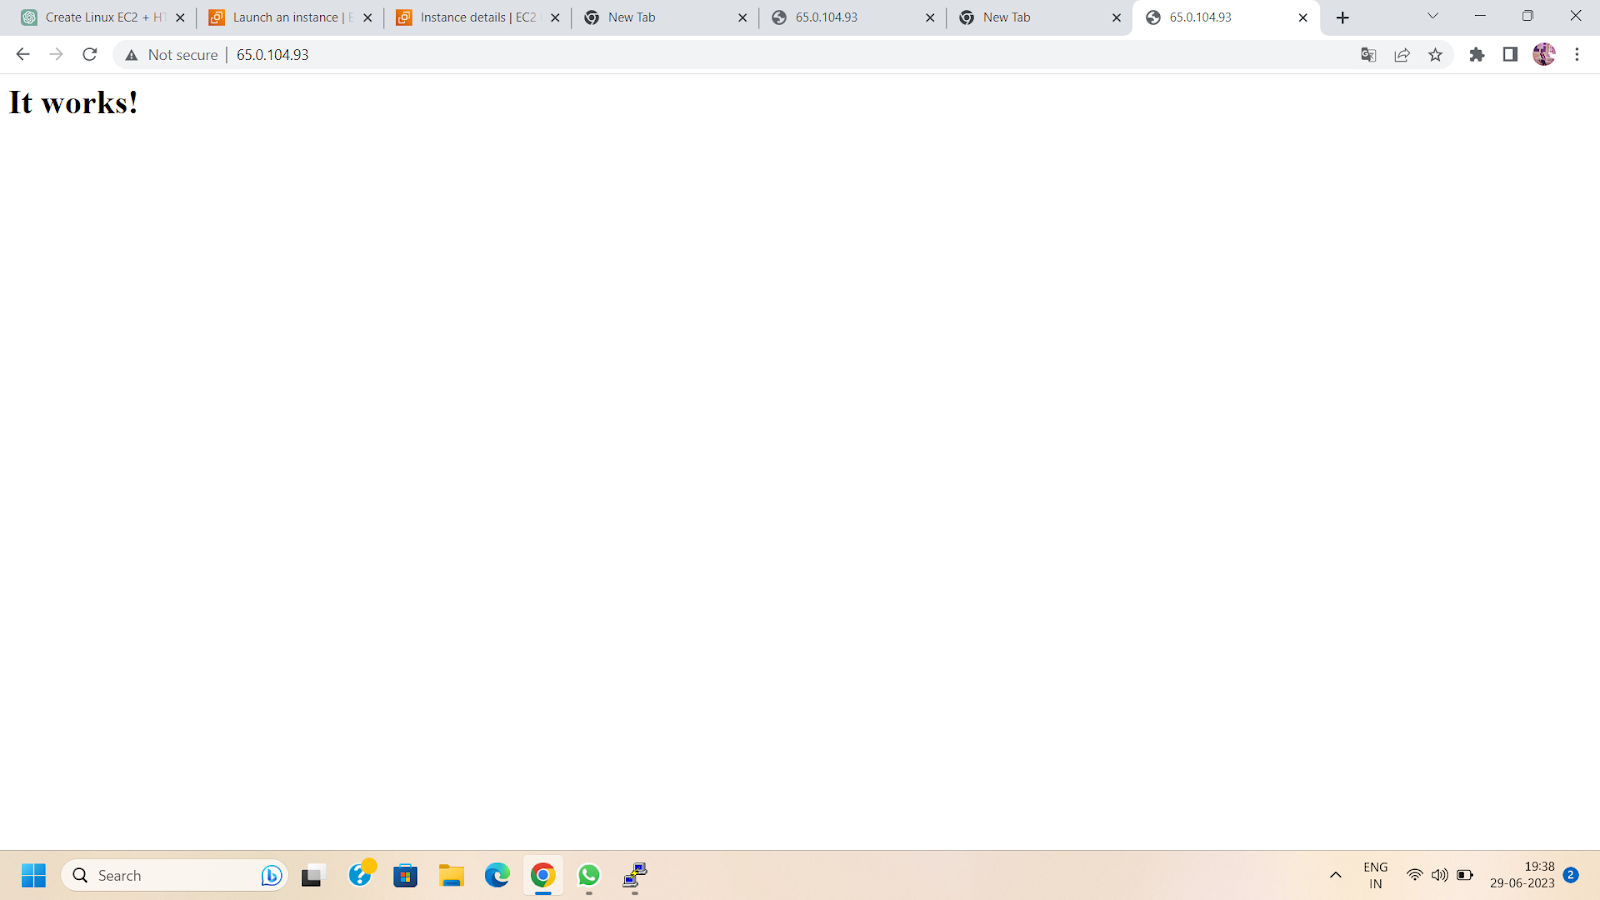
After the script completes its execution, verify the successful installation of the
HTTP server by accessing the public IP address or domain name of your EC2 instance through a web browser. If
everything was configured correctly, you should see the default page of the HTTP server.
Step 10:
Go to the your preferable browser and paste your Public IP. Your Http server is
ready.
Conclusion
By creating a Linux-based EC2 server and installing an HTTP server with a bash script, you can simplify the
process and save valuable time. Automation is a powerful tool that allows you to quickly set up and configure
your
server, enabling you to focus on other aspects of your project. Harness the power of bash scripting to
streamline
your server setup and make the most out of your EC2 instance. Happy server deployment!
r project. Harness the power of bash scripting to streamline
your server setup and make the most out of your EC2 instance. Happy server deployment!
